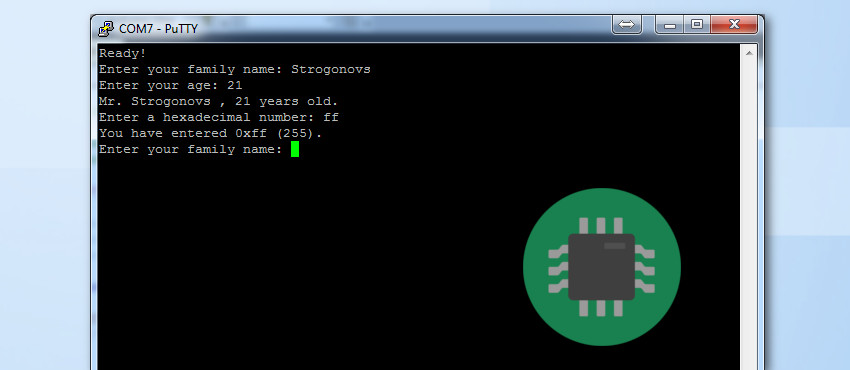
Guide to Xmega USART aka. Serial communication

Most of my projects involves having some sort of communication between PC and my micro. Either useful data is being transmitted between those two, or just for the sake of debugging, since I don't have any of the high end AVR debugging tools. Whatever reason, serial communication is always useful and I view it as a must have and very important module of any micro. In this article I'll be describing how to set up serial communication with XMEGA, also how to use standard printf and scanf functions in your C and C++ code. I won't be explaining what is a USART, I expect you to already be comfortable with the theory behind it and I'll leave out interrupts.

Read More


Configuring xmega system clock

For me, one of the first things I wanted to test is how to setup the system clock. In this tutorial I'll be explaining how to set up external oscillator from 8-16Mhz and how to set up the xmega to use internal 32MHz clock. I think, by providing instructions for these two types of system clocks, anyone should be able to understand the logic behind the datasheet and set up whichever clock he/she wants.

Read More


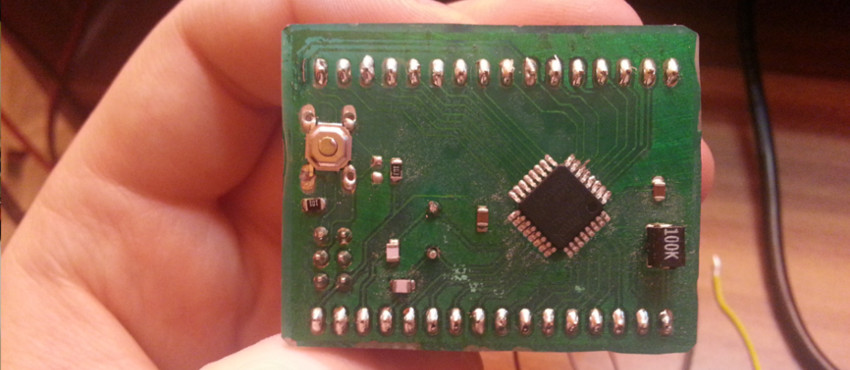
Playing with AtXmega16e5 breakout

For my final year project I ended up experimenting with ATxmega16e5 microcontroller, after major step backs with TI ARM microprocessors (don't get me wrong ARM is very powerful). 
At the first glance these new xmega series uC are quite impressive. 32MHz internal clock, incredibly fast ADC (16e5 can have up to 300ksps), 12 bit adc, DAC, two or more USARTs and list goes on. Moreover you are able to use tools you're familiar with, when it comes to program AVR family micros, providing you have programmed AVR family before. I have yet to test full capabilites of the new xmega series, but I'll write posts about individual modules, like ADC, USART, DAC etc.

Read More


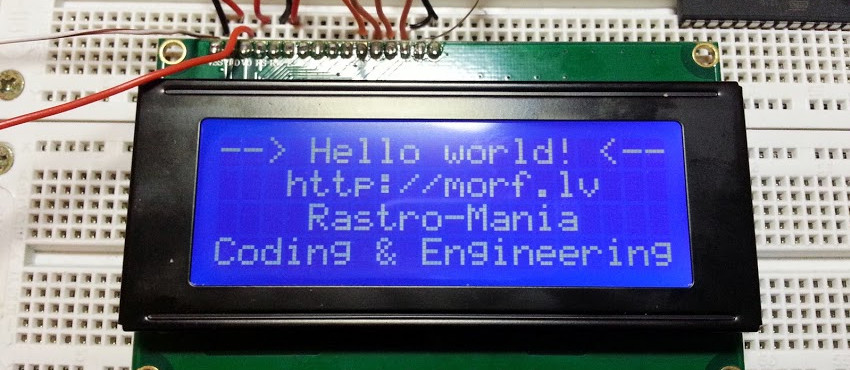
Simple library for driving 20x4 LCD with 4bits

Out of boredom I figured out I'll write a library from scratch to interface the character LCD display which I got from ebay, quite cheap. Less than 7 pounds. However, I have written before a simple code to interface an LCD from scratch for 8051. So I have some experience and understanding how the character LCD works. The difference now will be, I' ll be using 4 bits, instead of 8 bits to communicate and read the busy flag. Essentially improving the previous code. I chose to write it for Arduino this time, because I have Sanguinololu bought for my 3D printer, and at some point I want to write a LCD user interface for it, from scratch. There won't be anything spectacular about this tutorial, there are already good articles about this stuff for all kinds of devices. Moreover, arduino has bunch of LCD libraries available for download for free. BUT... in this tutorial I'll describe problems I encountered and try to be as descriptive I can be so you can understand how the character LCD works, making you able to interface it with any micro-controller available, and even driving it by hand.

Read More


ADVERTISEMENT