Well then it's time to do some useful stuff with the raspberry Pi, let's install opencv on it and try to show picture.
First you want to do is to install opencv
pacman -S opencv opencv-samples
opencv-samples are not mandatory, but they can get useful.
After opencv installs, let's write a sample c++ code to open an image from file and then apply basic thresholding
#include <cv.h>
#include <ml.h>
#include <cxcore.h>
#include <highgui.h>

using namespace cv;
using namespace std;

#define THRESH_VALUE 200
#define THRESH_MODE 0
#define THRESH_MAX_VALUE 255

int main()
{
    Mat original_image = imread("GreenApple.jpg");
    Mat thresh_img;

    //Show original image
    imshow("Original", original_image);

    //convert the image to gray
    cvtColor( original_image, thresh_img, CV_RGB2GRAY );

    //Threshold the image
    threshold( thresh_img, thresh_img, THRESH_VALUE, THRESH_MAX_VALUE, THRESH_MODE );

    //lets show the output
    imshow("Thresholded", thresh_img);

    //Wait until any key is pressed
    waitKey(0);
    cout << "Exiting application\n";

    return 0;
}
To compile you will need base-devel package isntalled on your system
pacman -S base-devel
Before compiling let's check if everything is good to go with the opencv library
pkg-config opencv --libs
That should show bunch of paths to opencv library.
Then we can safely compile the opencv C++ application
g++ -g -Wall -o opencv_test opencv_test.cpp `pkg-config opencv --libs --cflags`
Then just run your application, like normally on linux machine
./opencv_test
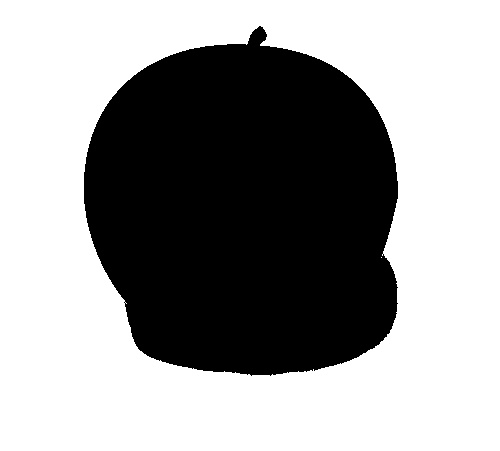
Here is the original picture and thresholded picture, and it was all done by raspberry Pi:


